4 Simple Methods to Make Wood Waterproof
If you’ve ever wondered how to protect and preserve wood from the elements, you’re in the right place. We’re going to show you simple and effective tips to ensure your wood projects stay looking great and last for years to come. Whether you’re working on outdoor furniture, decks, or garden structures, waterproofing wood is essential to prevent rot, mold, and decay.
We’ll walk you through the process step-by-step, using easy-to-understand language and practical tips. You don’t need to be a DIY expert to follow our guidance.
So, let’s get started on learning how to waterproof wood and keep your projects in top-notch condition.
How Water Harms Wood:
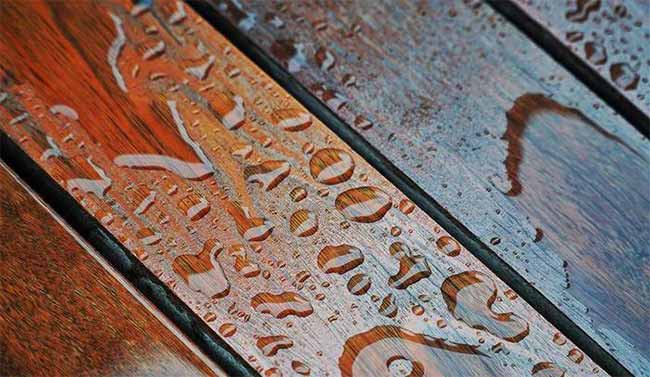
Water can be quite a troublemaker when it comes to wood. It doesn’t just make wood wet; it goes deeper, causing various issues.
There are four main problems that water can bring to wood, and these are the most common issues wood faces when it gets wet.
- #1 Cracks and Splits: When wood absorbs water, it makes certain parts of the wood expand, which can lead to large cracks. This not only looks bad but can also be unsafe, highlighting the importance of protecting wood.
- #2 Discoloration: Prolonged exposure to water and sunlight can change the color of wood. Rot can darken it, while unprotected exposure to UV rays can lighten it. Swelling can also lead to lightening of wood.
- #3 Mold: Mold is perhaps the most troublesome issue of all. Wet wood is a breeding ground for mold. Where there’s no moisture, there’s no mold. Therefore, waterproofing wood can effectively prevent mold problems.
- #4 Scratches: Surprisingly, when wood absorbs water, it tends to become softer, making it more prone to scratches. These scratches often remain even after the wood dries, making the situation worse.
Can You Waterproof Wood?
Absolutely, you can make wood waterproof. There are a variety of methods to achieve this. You can opt for linseed oil, sealing, or even use specialized waterproofing stains. Let’s explore these three techniques in more detail.
Oil Finish:
Oil finishes like linseed, tung, or Danish oil seep into bare wood, safeguarding it and restoring natural oils lost due to aging.
They are safe for use around plants, animals, and children, making them great for indoor wooden items like picture frames, jewelry boxes, and thrift store crafts.
Oil brightens dark wood, but it requires reapplication every six months to a year, making it less suitable for heavily used items like dining tables.
Stain:
Stains, mixed with vinegar, not only penetrate but also color wood. They enhance its look, offering UV protection and moderate water resistance.
Stains are a good choice for outdoor wood structures like fences and decks. They come in various colors, though they are often more expensive than other finishes and last up to five years.
Sealant:
Sealants, including lacquer, varnish, and polyurethane, chemically strengthen wood, creating a long-lasting water-repellent surface.
While they may not offer extensive UV protection like stains, they add an extra moisture barrier, making them ideal for indoor wood surfaces such as countertops, doors, trims, and bathroom shiplap boards.
You can also hire a local wood flooring professional to refinish and restore hardwood floors with sealants. Each type of sealant has different drying times, with polyurethane being the most popular but more time-consuming, requiring three coats over up to three days.
How to Waterproof Wood in 7 Steps:
Waterproofing wood is a straightforward process, but it’s essential to ensure thorough waterproofing. When done correctly, it provides long-lasting protection against water. Follow these simple steps:
Clean: Start by removing any surface dirt and debris from the wood. A clean surface ensures that the stain or sealant adheres properly. Sweep off loose particles and use a general cleaner for a final cleanse. If the wood is new, you can skip this step.
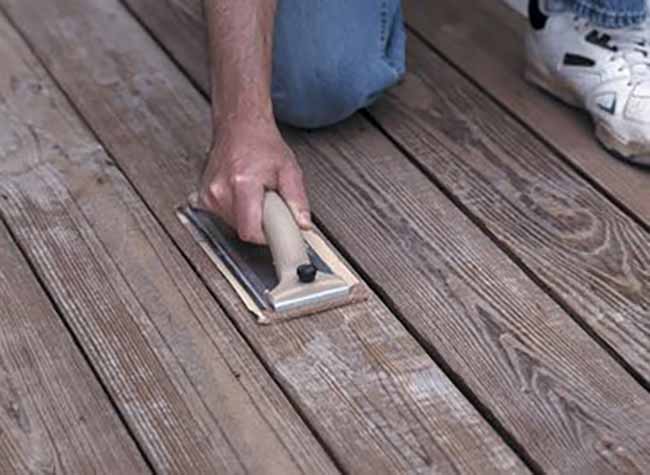
Sand: Creating a smoother surface helps the stain or sealant bond effectively. After cleaning, begin with rough sandpaper and finish with a smoother one. Wipe the surface to remove any sanding residue.
Stain or Sealant: Decide if you want to add color or showcase the wood’s natural grain. Choose the stain or sealant that best suits your preferences.
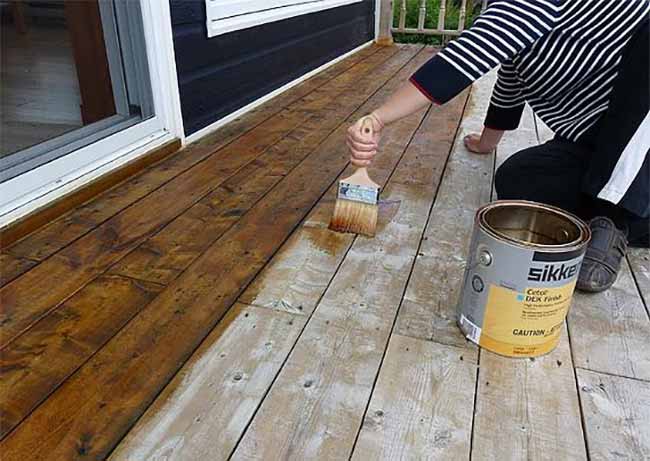
Application: Use a brush or sprayer to apply the first coat of stain or sealant. Allow it to dry for the recommended time, as indicated in the product’s instructions.
Sand (Again): After the first coat has dried, lightly sand the wood’s surface before applying the next coat. Use fine sandpaper and a dry cloth to remove sanding residue.
Reapply: Apply an additional layer of stain or sealant and allow it to dry. If necessary, repeat the sanding and application steps to achieve the desired number of coats.
Cure: Let the wood cure for three days before subjecting it to any use. Avoid walking on it or placing furniture until the curing process is complete.
Pro tip: Remember to use protective gear, including eyewear, gloves, and suitable clothing to safeguard yourself during the process.
Here are some of the top video tutorials we’ve come across for typical DIY wood waterproofing projects:
#1. How to Clean, Renew and Seal a Wood Deck in One Day
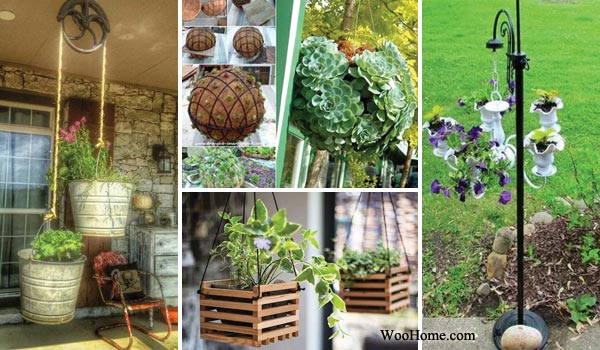
#2. Waterproofing a Planter
#3. Waterproofing a piece of Wooden Furniture
Most Durable Wood For Outdoor Use:
Acacia Wood
Acacia wood is exceptionally robust and durable, making it an ideal option for outdoor furniture and structures exposed to the elements. It boasts a range of attractive shades from light to dark brown to complement various outdoor decors.
Naturally resistant to rot and waterproofing, acacia ensures long-lasting performance outdoors. It effectively withstands heat and sun exposure, making it an excellent choice for applications that bear weight or pressure daily.
Cedar Wood
Cedar wood is a favored choice for outdoor applications because of its natural ability to withstand moisture, decay, and pests. Its resistance to warping ensures it stays in shape when used for garden furniture. The tight grain of cedar reduces the likelihood of cracks or checks.
When adequately protected with finishes like paint or preservative oils, cedar can even handle intense sun exposure. Its lightweight nature simplifies transportation and installation, making it an excellent option for sizable projects like pergolas and decks. These qualities make cedar a top pick for outdoor use, making it a favorite among garden enthusiasts.
Eucalyptus Wood
Eucalyptus wood is rapidly gaining popularity for outdoor applications, thanks to its unique characteristics. Its natural oil content deters pests, rot, and mildew, while its strength allows for versatile shaping.
Eucalyptus is a more budget-friendly option compared to other hardwoods like teak or redwood, making it perfect for both small and large projects. With proper care, eucalyptus remains attractive and durable in outdoor settings, enduring harsh conditions over many years.
Teak Wood
Teak wood is renowned for its exceptional strength and durability, making it a top choice for outdoor use. This hardwood, originating from tropical trees, offers high resistance to moisture and temperature fluctuations.
Its natural oil content prevents rot, decay, fungal attacks, and weathering effects. Teak remains resistant to cracking, warping, pests, and splintering, requiring minimal maintenance. Its rich golden-brown hue adds elegance to any outdoor space.
Redwood
Redwood is highly sought after for outdoor projects such as decks, fences, furniture, and siding due to its natural beauty and durability. Its natural cellular structure provides excellent resistance to decay, pests, and fungi.
The wood’s grain pattern further prevents warping and splitting, surpassing other species. While cedar may last 5-15 years, depending on climate, redwood can endure 20-30 years with proper maintenance. Homeowners enjoy peace of mind knowing their investments will withstand the elements, offering lasting value.