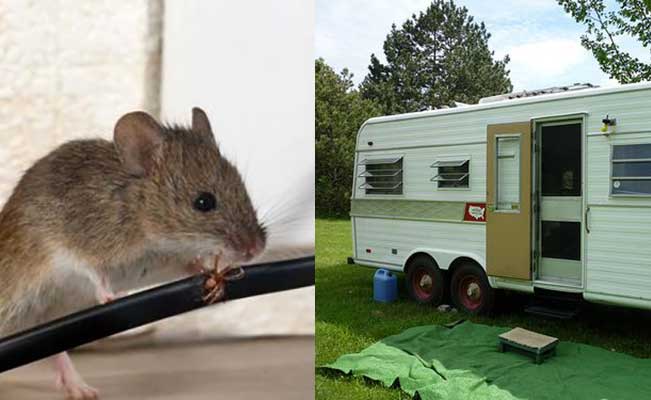
Simple Tips to Keep Your Camper Mouse-Free
Worried about mice causing trouble in your camper? No one wants those pesky problems. Today, let’s learn how to keep mice away from your camper. Because who wants their comfy travel home to become a mouse hangout? We’ll explore some easy tips to make sure your RV stays free of mice and in great condition. Ready to keep those tiny mischief-makers away? Let’s find out the tricks how to keep mice out of your camper!
Keeping Mice Away from Your Camper: Simple Steps to Follow!
Do you want to make sure mice stay far away from your camper? No worries, here are some easy tips and tricks to help you out!
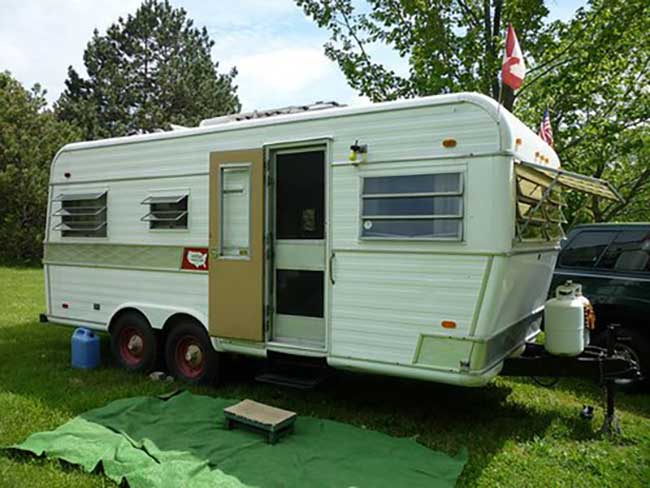
Step 1: Find a Good Parking Spot
The first thing you should do is pick a good place to park your camper.
If it’s outside, try to park it away from wooded areas.
Choose a hard surface like gravel or pavement because if it’s on grass, mice can sneak around easily.
A hard surface makes it a bit harder for them to get to your camper.
Step 2: Say Goodbye to Food in Your Camper
Mice love food, so don’t make your camper a buffet for them.
Remove all the food, including fresh food, canned goods, and even pet food.
Mice need food, shelter, and water, so by removing the food, you’re taking away a big reason for them to visit your camper.
Step 3: Bye-Bye Paper Products and Bedding
Mice enjoy making nests out of paper, so why give them the chance?
Take out paper towels, newspapers, and cardboard boxes.
Some RV owners also remove extra bedding because mice love cozy spots too.
These simple steps can help reduce the chances of mice making themselves at home in your camper.
Step 4: Give Your Camper a Good Cleaning
Now that the food and paper products are gone, it’s time to clean!
Mice can be tempted by even the tiniest of crumbs, so vacuum and mop the floors.
Wipe down all the countertops and clean inside cabinets.
Don’t forget to clean the fridge and take out the garbage.
A clean camper is less attractive to mice.
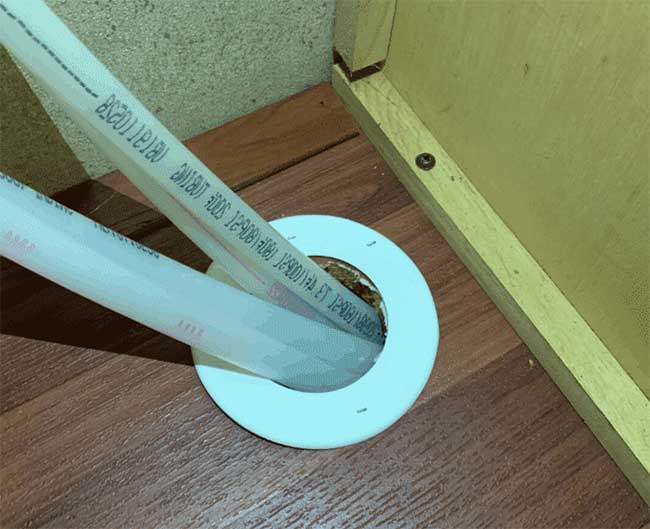
Step 5: Seal Those Holes in the Exterior of your Camper
Mice can’t magically go through walls, so they’ll find small openings.
Your job is to find these holes and seal them up before the mice find them.
Even small holes can be an invitation for mice.
Check the exterior of your camper carefully for possible entry points and fill any holes that are bigger than 1/4 inch.
It might take some time, but it’s worth it to keep those mice away.
Places Mice Might Sneak In Your RV
- Openings for utility hookups on the outside
- Where the propane lines enter your RV
- Remember to shut the roof vents and examine the roof for any gaps
- Give your storage compartments a quick check
- Ensure the camper door is tightly closed and sealed
- Inspect the undercarriage or chassis of your RV for any spots mice could use to get in
How to fill the holes in your RV:
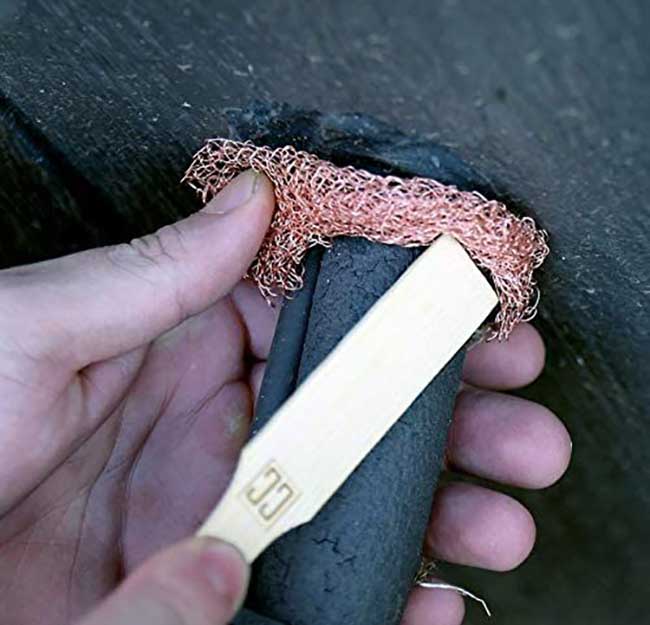
1) Foam in a Can:
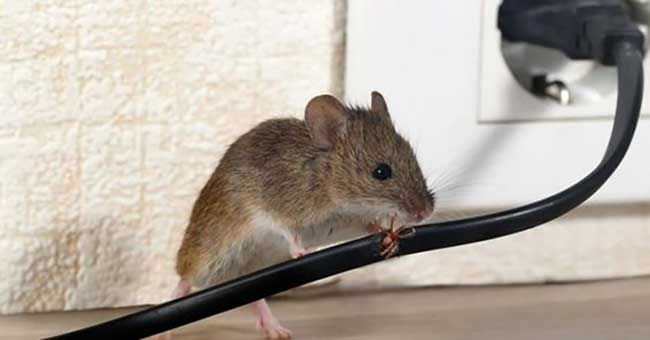
Use spray foam, also known as expanding foam, to fill up those small gaps around pipes or other potential entry spots. It’s interesting to note that mice can actually chew through this foam.
To counter that, some pest control experts insert hardware mesh or copper wool into the foam before it hardens. Mice can’t chew through the metal, but honestly, I don’t think mice would bother chewing the foam just for fun.
Once the canned spray foam dries, it reduces airflow, so not many tempting smells from inside your RV would escape through a foamed-in hole.
2) Steel Wool:
If you can’t or don’t want to use spray foam, plug those gaps with steel wool. The metal acts as a deterrent for rodents, although over time, steel wool may rust.
Another option some folks prefer is copper mesh or stainless steel wool. Some pest control services and online guides suggest caulking over the metal wool to completely seal the opening. If you use only steel wool, mice might be able to remove the metal plug, giving them access to your camper.
3) Aluminum Foil:
A simple trick is to crumple aluminum foil into balls and stuff them into any gaps or cracks to block potential entry points. Mice aren’t keen on chewing through this thin sheet metal.
However, they might try to push or pull the foil from the gap. To secure the aluminum foil balls in place, you can apply some aluminum foil tape over the hole.
4) What Not to Use for Gap Filling:
Some folks claim they deter mice by placing dryer sheets (like Bounce sheets) into gaps. The belief is that mice will be put off by the scent.
However, it’s not a great idea for your RV because dryer sheets lose their smell over time and can be pulled out of the gaps. Others soak cotton balls in peppermint oil or other strong-smelling substances. But scents fade, and mice’s curiosity might overcome their initial aversion.
Step 6: Enhance Your RV’s Defense with Mouse Repellents
Keep in mind that eliminating food, thoroughly cleaning your RV, and sealing holes are your top strategies against mice.
After you’ve completed these steps to rid your RV of mouse attractions and seal the access points they might use, you might want to think about incorporating some mouse repellents into your RV.
What to do if You Spot Mouse Droppings in Your RV?
So, you’ve stumbled upon this article a bit late, and surprise – there are mice in your RV. Discovering rodents in your camper was probably the last thing on your mind when you swung open the RV door after a while.
But here you are, facing the evidence: perhaps an unpleasant odor, torn cushions, or the telltale mouse poop. Those droppings are like a gross signboard signaling that you’ve got mice in your RV. And let’s not forget about the pee that you can’t even see – yikes!
Evict the Mice from Your RV
The Center for Disease Control (CDC) recommends taking action to eliminate the rodents causing the problem. Get those little critters out of there!
Time to set up some mouse traps to either catch or, well, end the mice’s adventure in your RV. Mice can wreak havoc on your RV and bring health concerns along with them.
There are various traps available – the classic snap traps, sticky glue traps, electronic zap traps, and live catch traps. While live catch traps may seem humane, remember to release any trapped mice regularly; otherwise, it’s not as humane as it sounds.
To entice the mice to the traps, forget the cartoon cheese cliche; in real life, peanut butter is a stickier, more effective bait. Some folks opt for poison bait, but exercise caution if you have pets or kids in your RV.
You wouldn’t want them getting sick from any lingering poison residue. The CDC advises ongoing trapping, and if a week passes without catching more mice, it’s a sign you’ve successfully evicted them.
Cleaning Your RV
Now that you’ve had your mouse eviction party, it’s time to clean up. But before you dive in, let the RV air out for at least 30 minutes[Reference]. Resist the urge to sweep or vacuum up the poop immediately – the CDC warns against stirring up dust.
There’s a potentially serious virus called Hantavirus[Reference] that can be contracted from airborne particles of infected rodents’ droppings or urine. Instead, spray a diluted bleach solution (1 part bleach to 10 parts water) on the droppings and urine-covered areas, letting it sit for at least 5 minutes.
You can also use a store-bought disinfectant; just follow the instructions on the label. After giving the bleach time to work its magic, put on protective gloves (vinyl or rubber) and pick up the droppings with paper towels. Toss the soiled towels into a sealed plastic bag and promptly discard it.
Once the droppings and urine are gone, disinfect all surfaces in your camper – mop the floor, wipe down counters, inside drawers, and cabinets with the bleach and water mixture. The goal is to erase any trace left by the rodents. Lastly, toss fabrics into the washing machine with hot water and detergent.
If you have carpets or fabrics that can’t be removed, the CDC suggests shampooing or steam cleaning. For a more comprehensive guide, check out the CDC’s article on cleaning up after a mice infestation.