25 Pebble Garden Ideas & How to Pebble a Garden
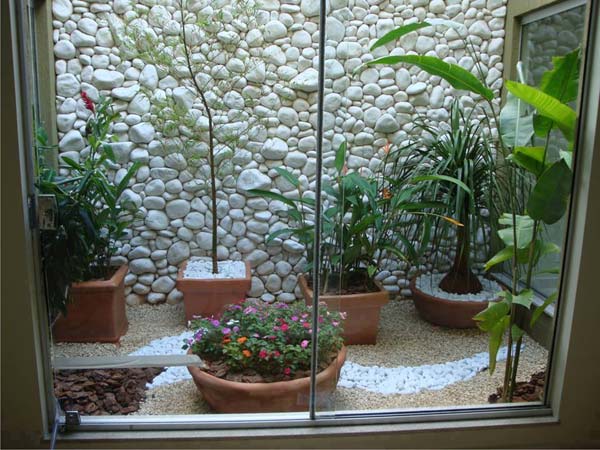
The courtyard is a great place to enjoy your relaxation time. If you are looking for ideas to enhance the beauty of your courtyard, then you should take a look at these inspirational examples of how to decorate the garden with pebbles.
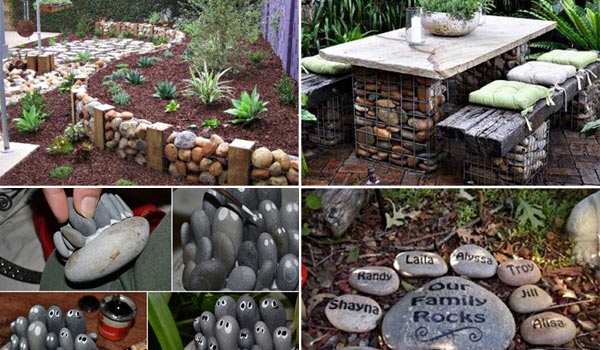
Pebbles are fantastic materials for garden design that connects with nature. They are easy to find and can be painted in your favorite colors. Nowadays, combining short plants with pebbles is becoming increasingly popular in garden designs, as they are easy to maintain and can create charming patterns in a variety of ways.
Just imagine how much more attractive and beautiful your yard and garden will be with the infusion of creative pebble garden ideas and pebble landscaping concepts.
These ideas have the potential to offer unforgettable moments to your guests and visitors as they explore the unique charm and visual delights created by the artful arrangement of pebbles.
How to Pebble a Garden
Pebbles can bring a variety of colors and textures to a garden, making it more visually appealing than bare soil or mulch. They can fill empty spaces, create borders, form paths, and help reduce weed growth. To effectively pebble your garden, it’s essential to clear the area, choose the right pebbles, and lay them properly.
Step 1. Clearing a Space for Pebbles
1. Inspiration and Planning: Visit local gardens, parks, or public spaces for inspiration. Take note of how pebbles are used in different designs. You can also look online for images of pebbled gardens from around the world,such as this article.
2. Measure the Area: Plan your pebble area carefully. Use a tape measure to get exact measurements. Typically, one ton of pebbles covers about 100 square feet with a thickness of 3/4 to 1 inch. It’s always a good idea to have a little extra in case you need to fill in any gaps later.
3. Prepare the Ground: Clear out any weeds, grass, or plants from the space where you plan to lay pebbles. Ensure you remove the roots to prevent regrowth. Wear gloves and goggles to protect your hands and eyes, especially when using tools like weed whackers.
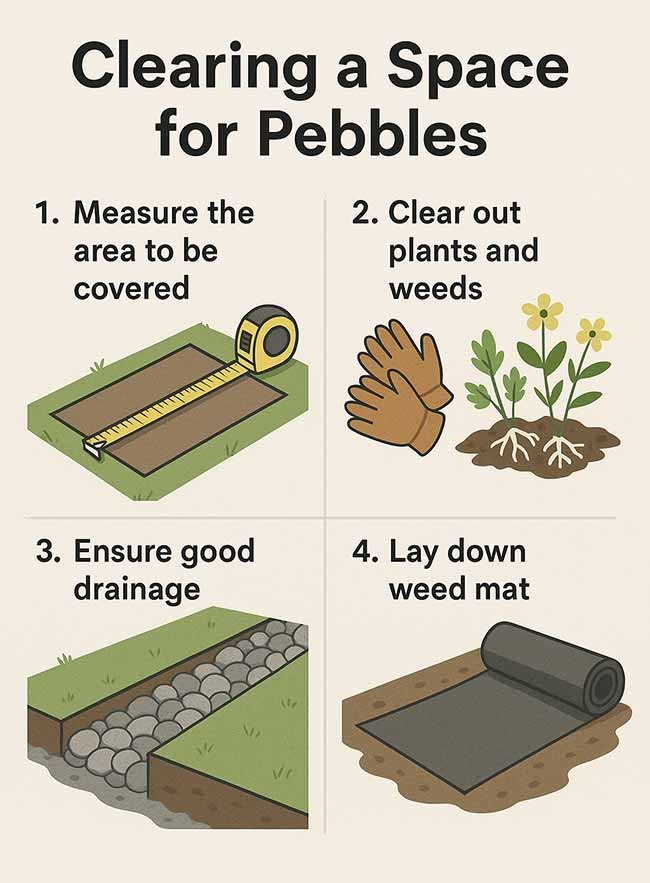
4. Check for Proper Drainage: Ensure the area has good drainage. Water can collect in the pebble garden if drainage is poor. You can create a French drain by digging a trench next to the garden and filling it with gravel, or burying a pipe to direct water away from the area.
5. Install a Weed Mat: Lay a landscape fabric or weed mat over the cleared area. This prevents weeds from growing through the pebbles and keeps the soil or other base materials from mixing with the pebbles. Use a biodegradable mat to ensure environmental safety.


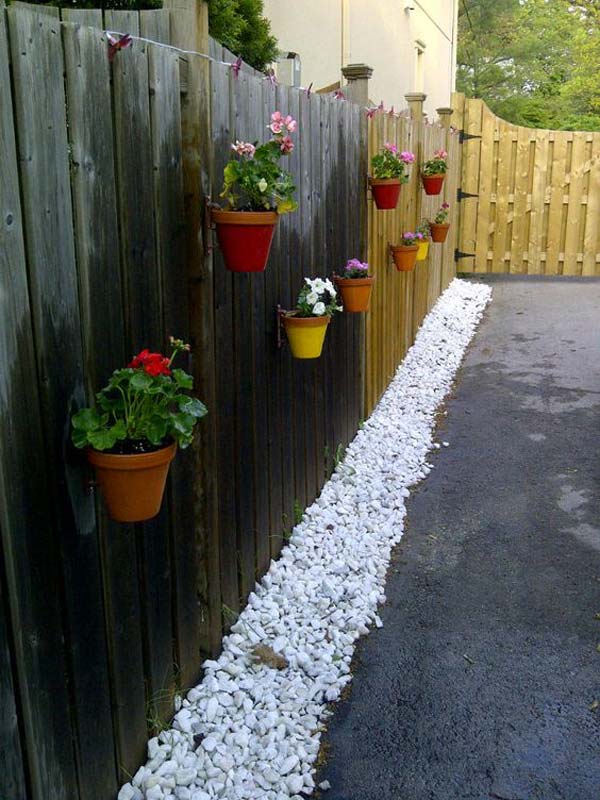
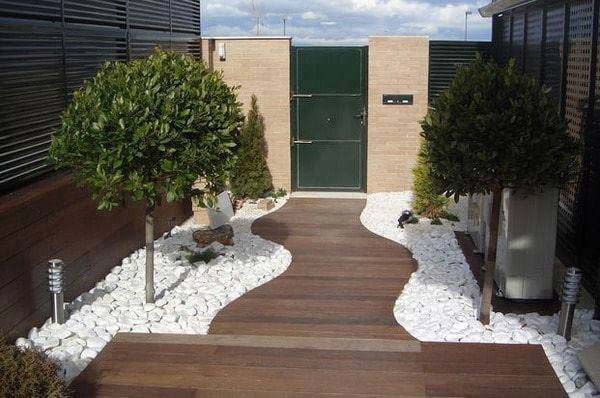
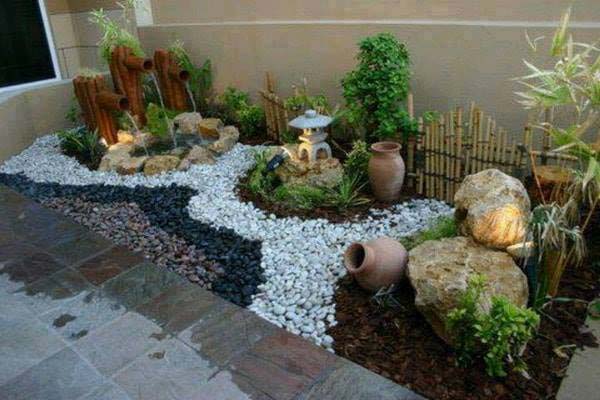
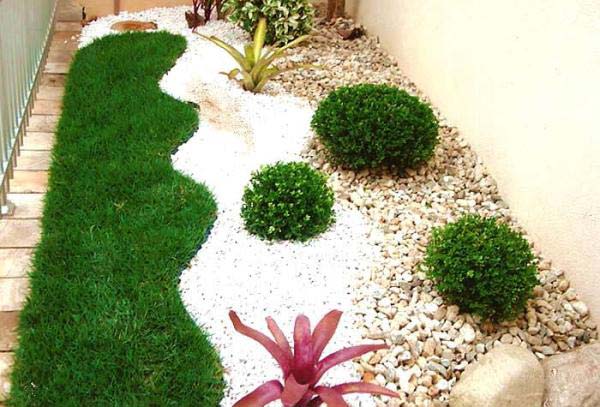
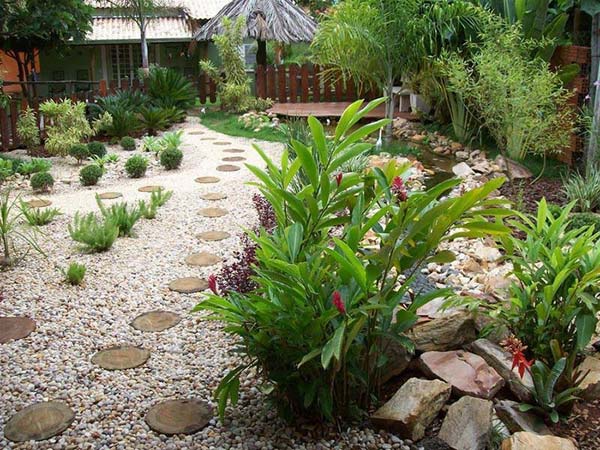
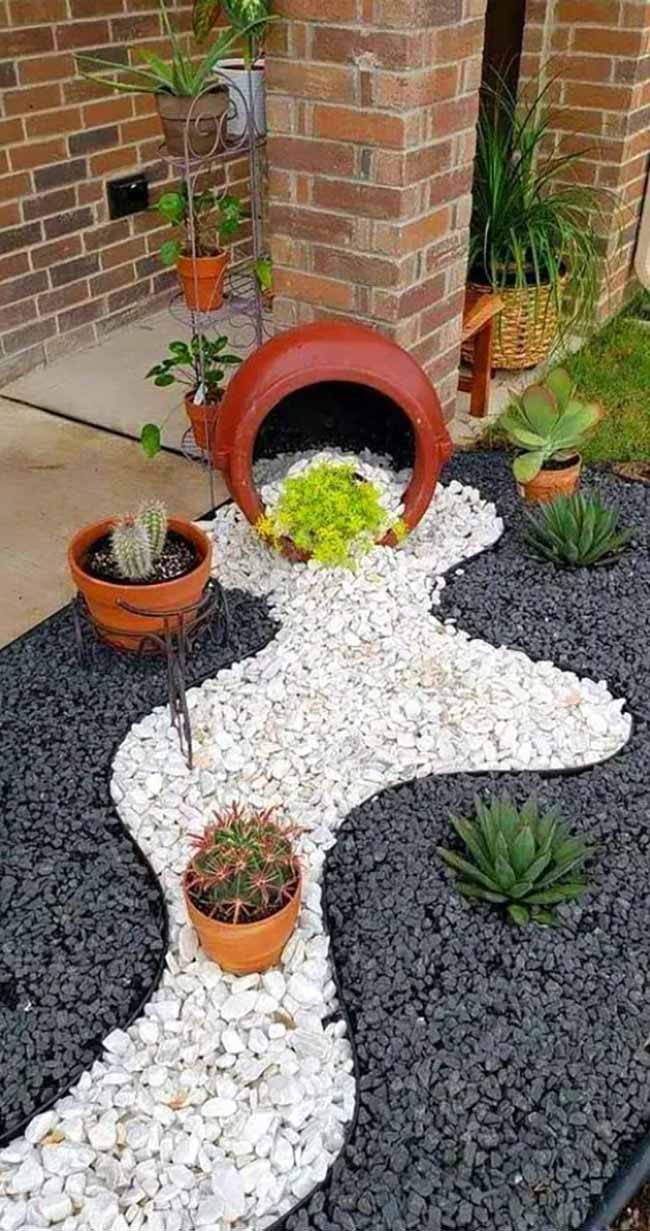
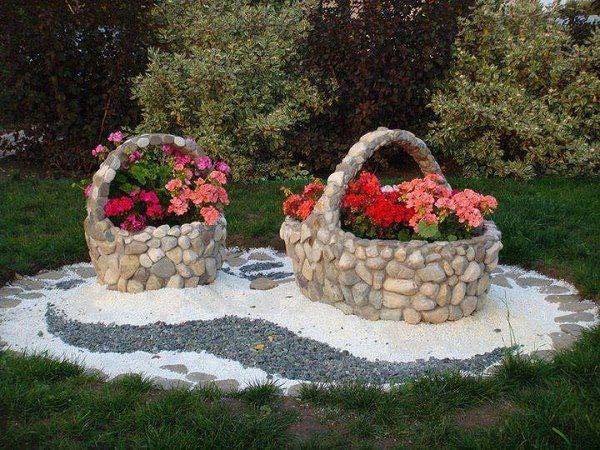
Creek Illusion: Make a pretend creek in your yard using white pebbles. Also, cover the nearby ground with gray gravel for a nice contrast.
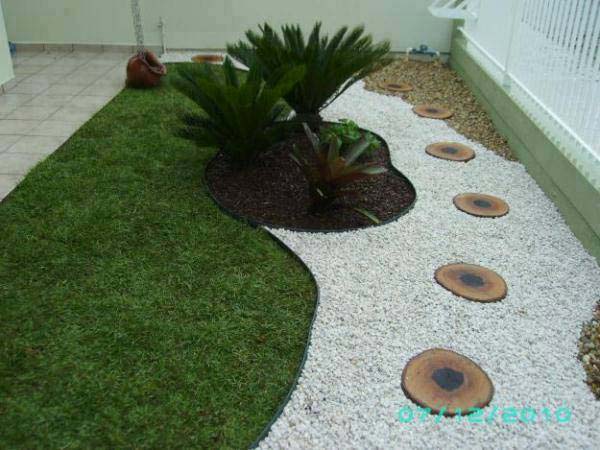
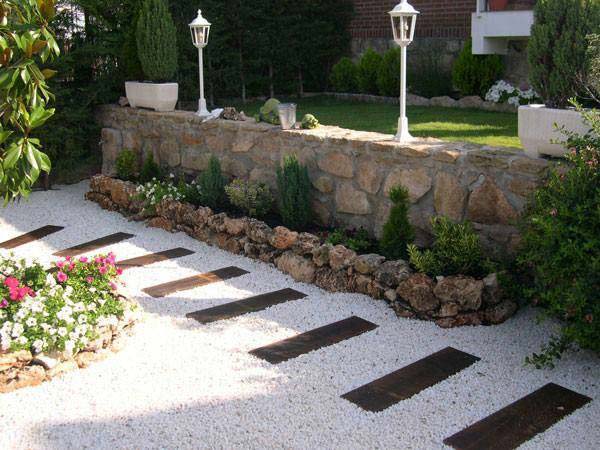
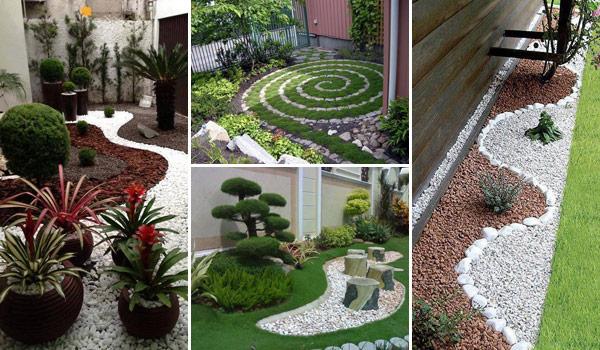
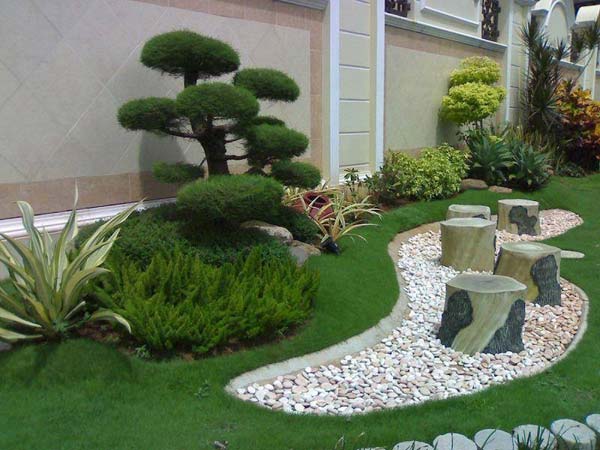
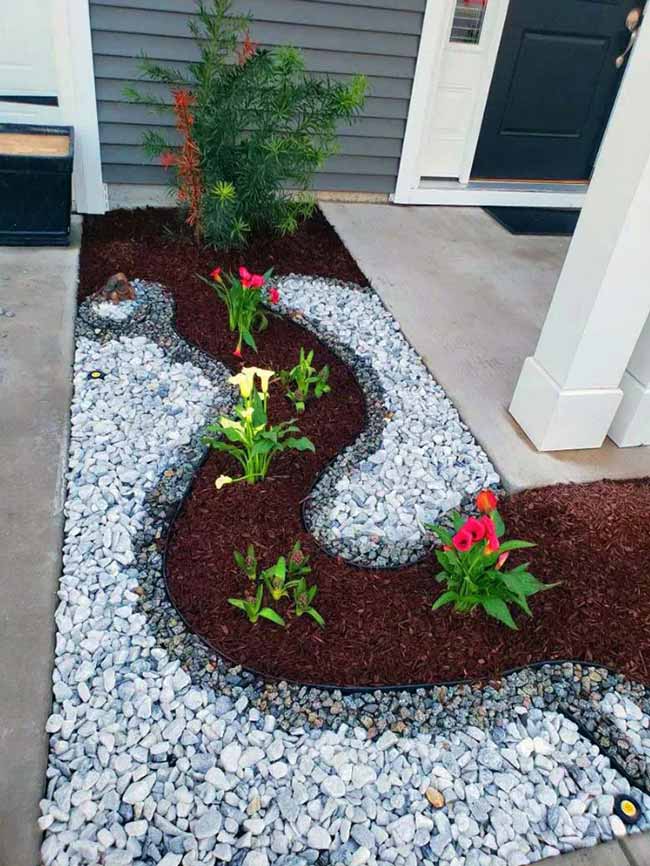
Charming Garden Bed: Use small white pebbles to create a lovely curved shape in your garden. It’ll be a nice focal point.
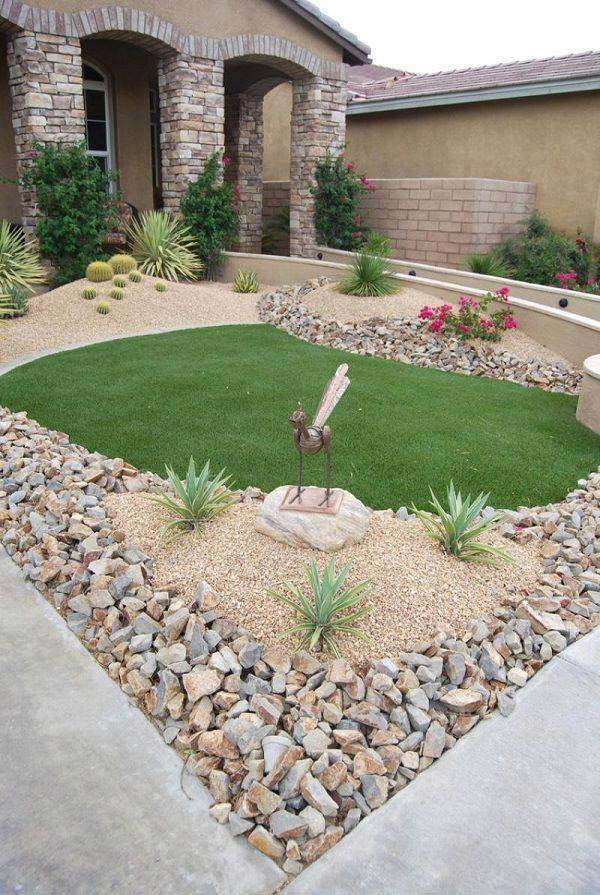
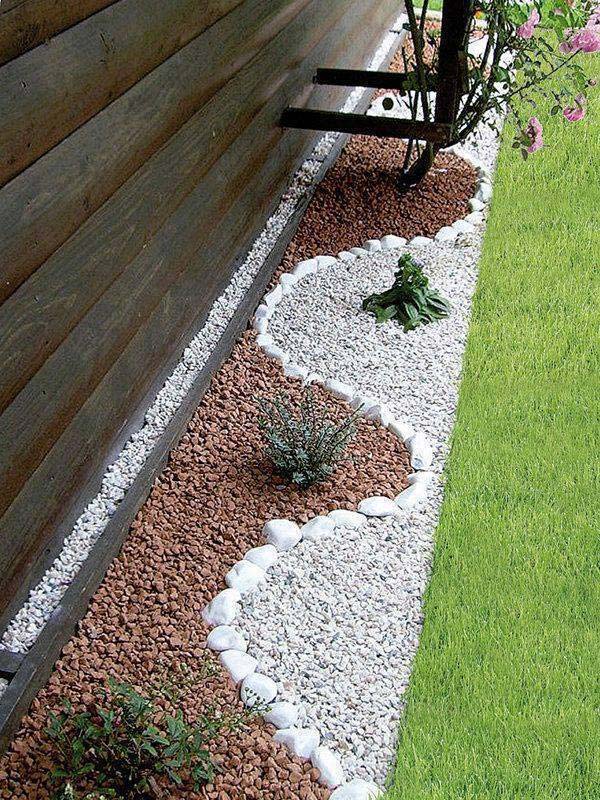
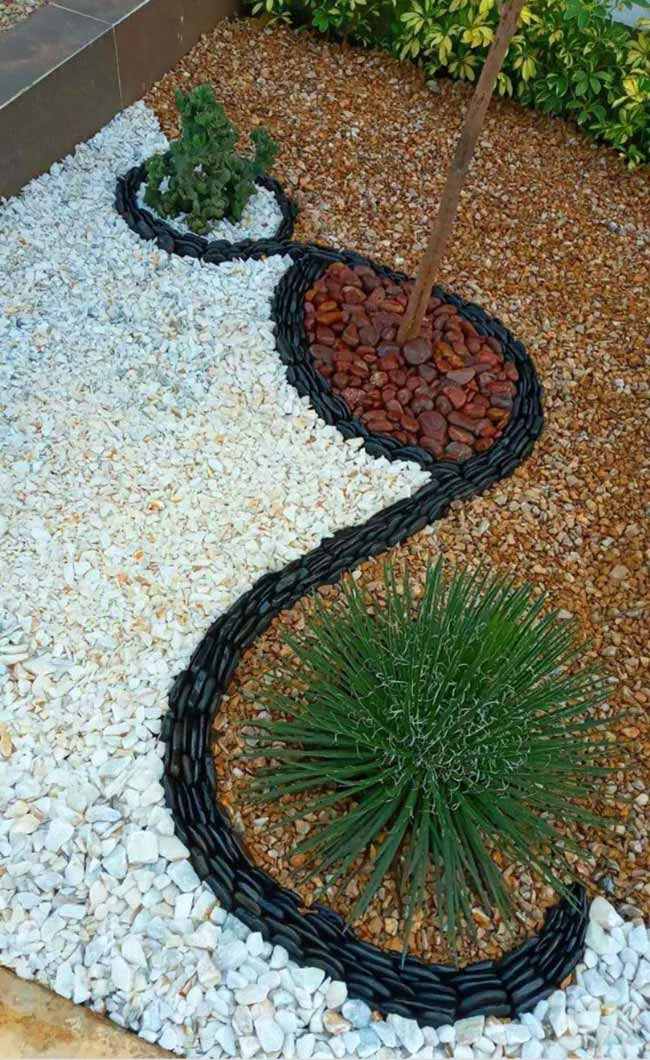
Highlight Your Greens: If you have grass, shrubs, or trees, use pebbles to make them stand out. Encircle them with one color of pebbles and then edge their space with a different color of gravel.
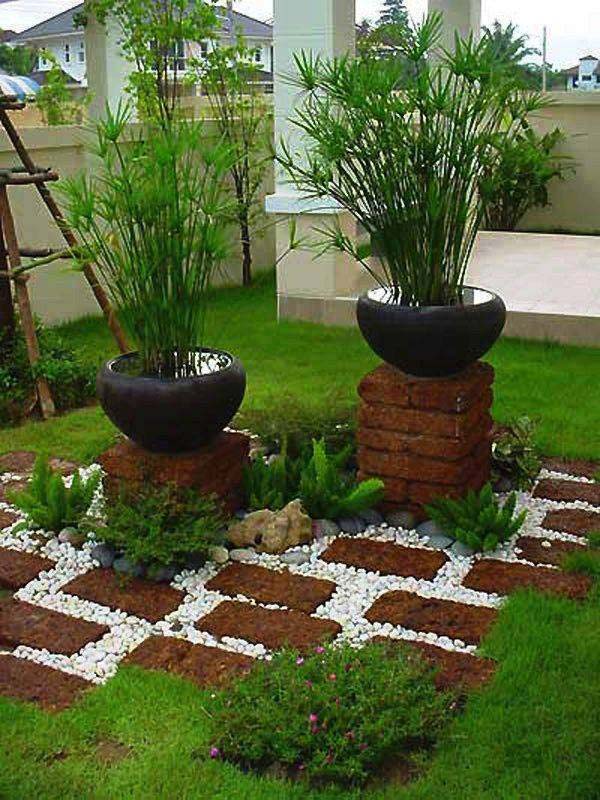
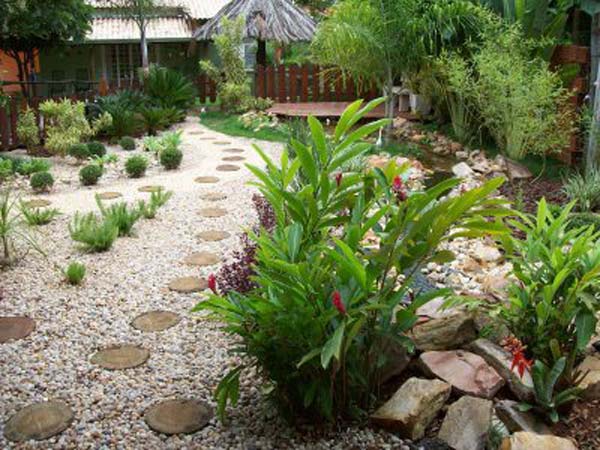
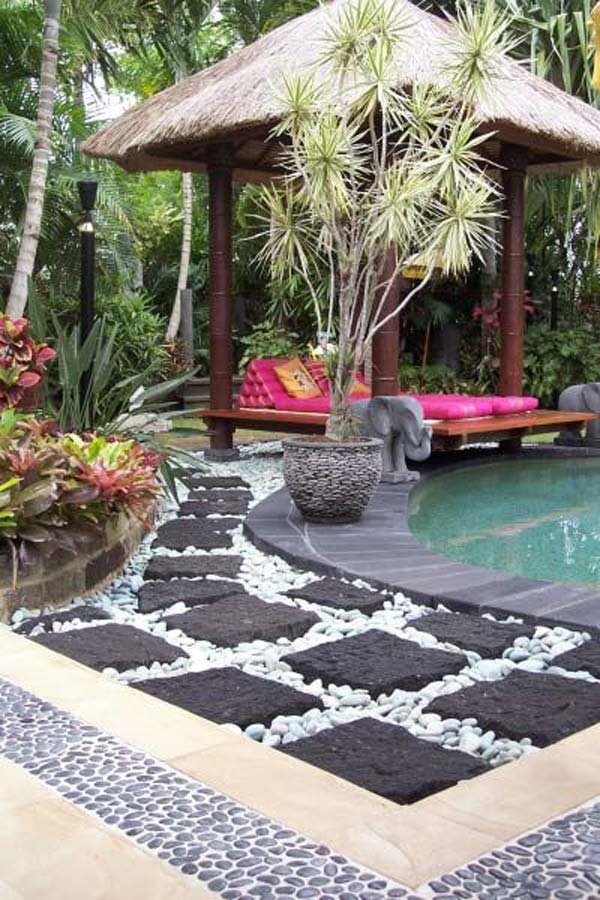
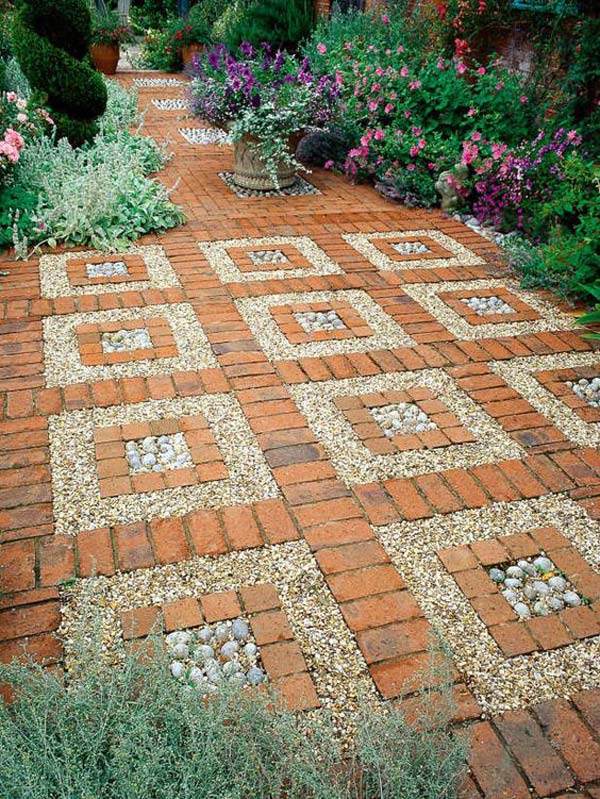
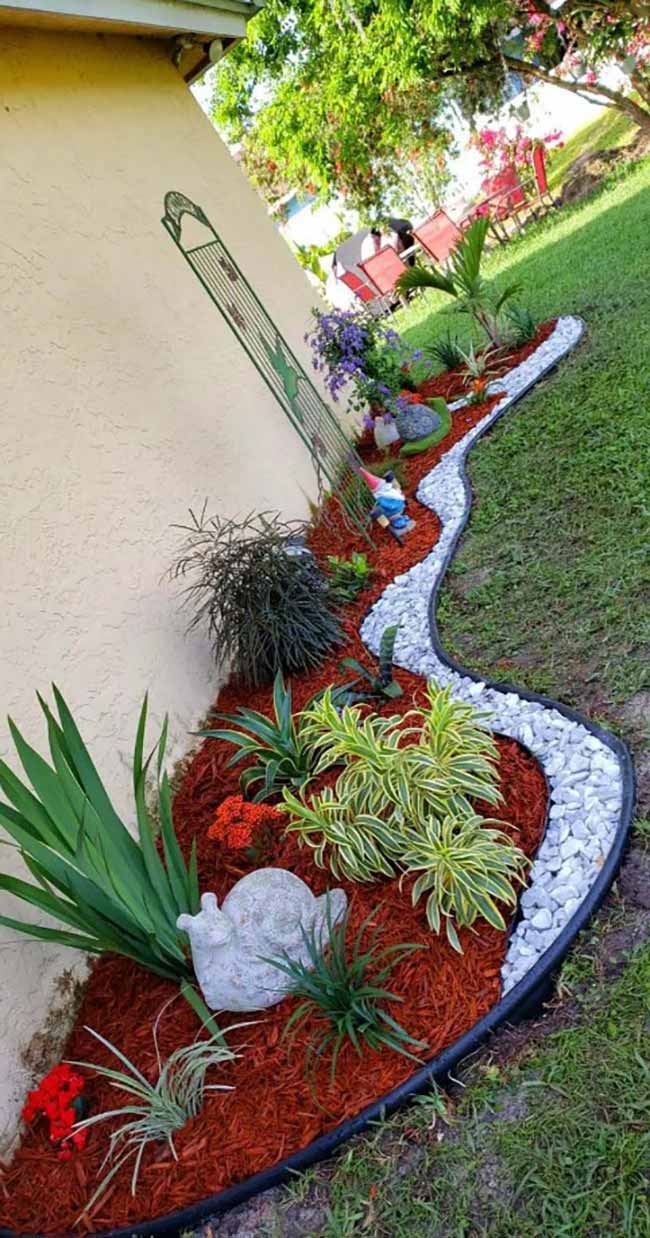
Perfect Pairing: Combine mulch and pebbles for a great look. Many garden bed ideas use this mix. Typically, pebbles are used to make the planted area pop and give the bed an interesting shape.
STEP 2. Choosing the Pebbles
-
Shop Around: Visit garden centers, pool stores, or pet stores to explore different types and prices of pebbles. You can find various colors and materials like marble, limestone, and granite. You may also consider collecting pebbles from riverbeds or streams—just ensure you’re permitted to do so.
-
Pick the Shape and Texture: Pebbles come in many shapes, including flat, round, or oval. Select pebbles that match the style and feel of your garden. Consider pea gravel, river rock, crushed granite, or Mexican beach pebbles based on your design.
-
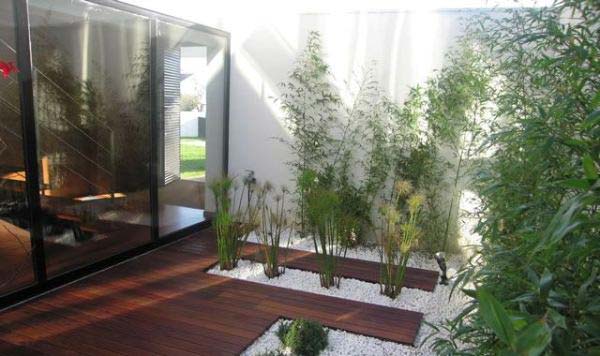
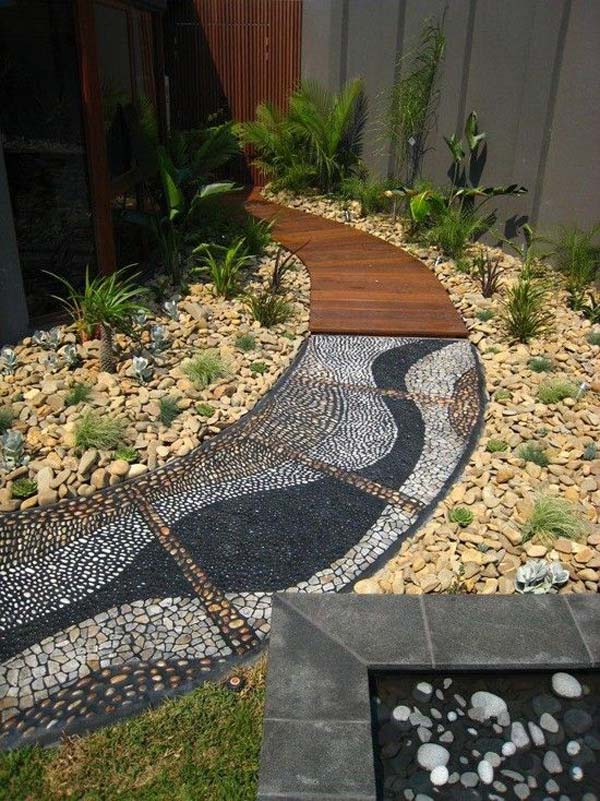
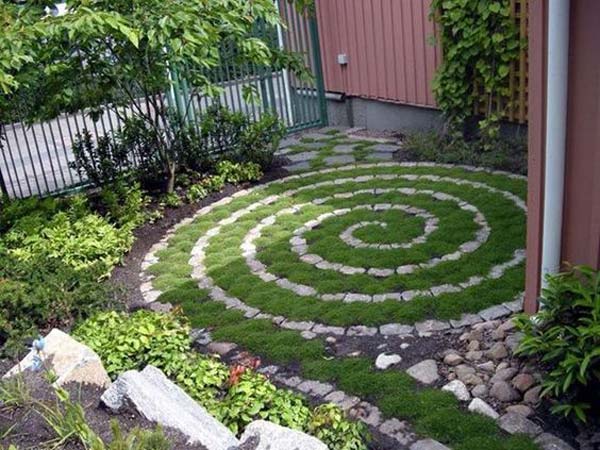
Design Your Layout: Plan how you want your pebble garden to look. You can choose a single color or mix several colors and textures. For a sleek, polished look, monochrome stones like onyx or white will give a refined appearance. If you prefer something more creative, you can design a pebble mosaic, combining different shapes and colors to create patterns.
-
Transport the Pebbles: Depending on the amount of pebbles you need, make sure you have help to transport them from the store to your garden. A wheelbarrow is a great tool if you’re gathering pebbles from a natural source. If purchasing, enlist help to carry heavy bags of pebbles.
STEP 3. Pebbling the Garden

-
Pour the Pebbles: Start by moving your bags of pebbles to the designated area in your garden. Lay the pebbles out over the space and shake them from the bags. If you’re creating a mosaic, be more careful when placing each pebble.
-
Spread the Pebbles: Use a rake or your hands to spread the pebbles evenly over the entire area. Ensure the weed mat is fully covered and that the pebbles are evenly distributed. It’s better to have too many pebbles than too few, as this will give a neat, full look.
-
Arrange Around Plants: When placing pebbles around plants, spread them evenly but take care not to damage the plants. Make sure the pebbles don’t block water or sunlight from reaching the plants. Adjust the pebbles to ensure the surface is level, especially around plants.
-
Cement the Pebbles (if necessary): If you’re designing a path or need the pebbles to stay in place, consider using cement. Mix a 4:1 ratio of cement to sand, then apply it to the area and fill it with pebbles. This will help hold the pebbles in place, especially in high-traffic areas.
-
Assess the Visual Impact: After laying the pebbles, step back and evaluate how the garden looks. The colors should complement your plants and flowers, and the design should feel balanced and visually pleasing.
-
Make Adjustments: If any areas need more pebbles, add them. Ensure the pebbles are evenly spread and check the garden regularly for any needed adjustments. It’s always helpful to have extra pebbles on hand to top up any low spots.